


Repairs to your Bike
Fixing Punctures
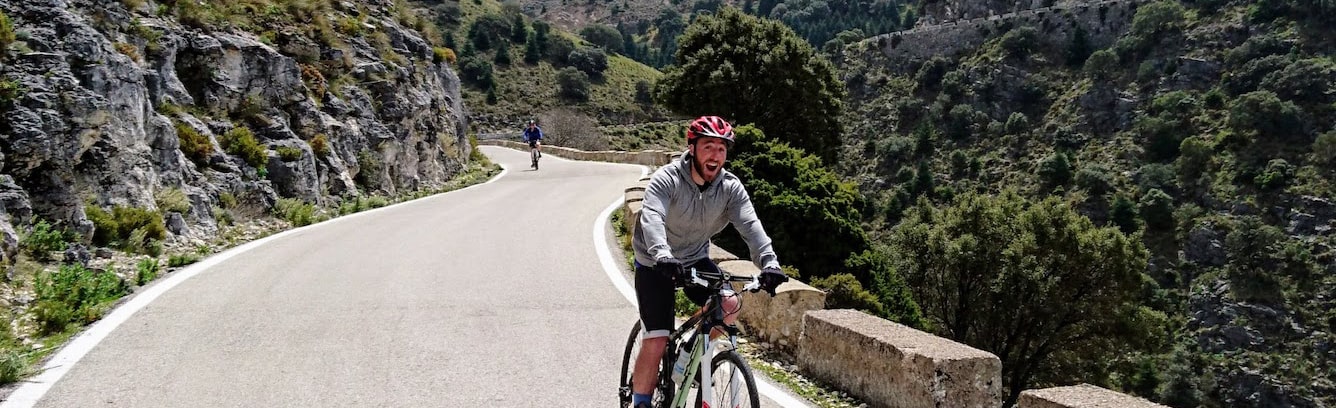
Flat tyres can and do happen on bicycle rides. Before you leave on your self-guided bike tour, you should be aware of how to remedy this situation by yourself without help. Don’t worry – it’s easy! If you don’t know how, we encourage you to stop by your local bike shop and ask for a quick lesson (making sure to buy some great gear for your tour while you’re there!). Try your hand at it a few times before you leave.
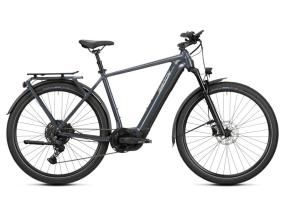
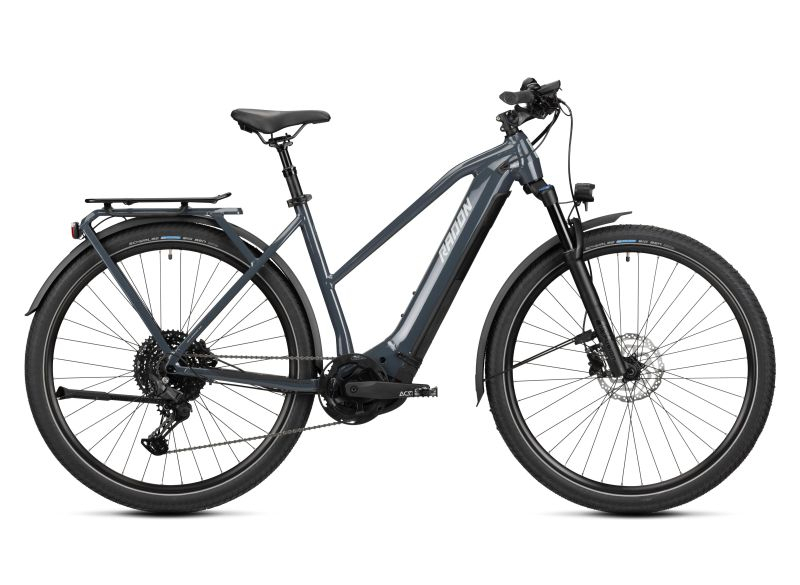
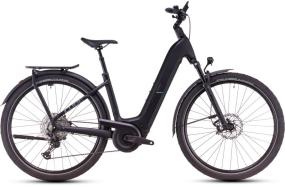
Our bikes are provided with spare tube and a small toolkit for simple repairs and changing of inner tubes.
And, if you feel you’ll never be comfortable fixing a flat, ride with someone who is, or sign up for a guided tour (since the guide is responsible for all fixes!).
These step-by-step instructions will give you an overview on how to deal with a punctured tyre.
-
If you have a low tyre, pump it up. For example, if in the morning you notice a small loss of air, pump up the tyre. If you keep the recommended pressure in the tyre during your ride, it is probably nothing to worry about. Some of our bikes have inner tubes with a self repairing solutiion that will seal small holes cause by thorns / nails.
-
If you puncture while on a ride, your tube will go flat quickly. (Note: all rental bike tyres have spare tubes and come with repair kits and essential tools.) In this case you will need to fix the puncture or replace the tube.
-
Drop the wheel out of its “dropouts” by opening the quick release. (Some bikes may have a nut to be loosened.) For rear wheels you may turn the bike over, but do keep the chain and derailleur out of the dirt.
-
Let the balance of air out of the tube at the stem valve and remove the circular nut on the valve. Then go to the opposite side of the tyre and use the tyre levers to lift off the tyre from inside the rim. You only need lift off one side (bead). Once started, you can get the rest by hand. You can then pull the tube out of the tyre.
-
Scan the tyre for thorns or anything that has penetrated the tyre, look on the inside and outside of the tyre. Remove whatever you find in the tyre before re-fitting a tube.
-
To repair a puncture: clean the area well, and then using the sand paper from the kit, “rough up the surface around the puncture”. Spread an even layer of glue over the puncture area and allow it to dry. You may want to apply a second layer – its up to you. Make sure it is dry. Then apply a patch of sufficient size to cover the puncture and make full contact with the glue. Smooth it down with your thumb or tyre lever.
-
Apply a little air to the tube and ensure its holding, and reinsert the tube into the tyre, ensuring that it is flat, straight, and not subject to being pinched between tyre and rim. Fit the valve nut but do not tighten it, leave a 1cm gap between it and the rim. Once in, deflate and then work the tyre bead back onto the rim starting at the valve. Try to use hands only to get the tyre back on to avoid damage to the tube whilst using tyre levers.
-
Once on, go around the rim a few times pinching and squeezing the tyre to ensure the tube is well seated and all is in place. Pump the tube about 30% and then check again that all is in order, valve straight, and then finish pumping. Finish tightening the valve nut againt the rim, it does not need to be very tight. Take note of the recommended pressure on the side of the tyre. NOTE: Wider tyres take less pressure than thinner tyres because they have more surface area.
-
Reinstall the wheel in the dropouts. Make sure that before you tighten down the quick release that your wheel is in the frame or forks straight and central. Note: A well-patched tube is just as good as new.
Fixing a Broken Chain
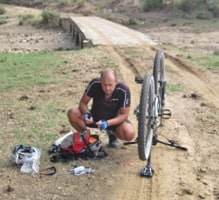
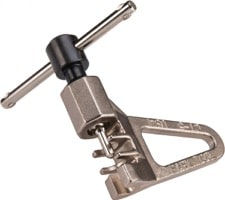
Fixing a bike chain on the street is no harder than fixing a flat tyre if you are prepared. To fix a broken chain all you need is a chain tool and a Powerlink, both are provided in your tool kit if using one of our bikes.
Unlike some issues, a broken chain is immediate and obvious. Depending on what you were doing when it snapped, it may fall off into the dirt, wrap around the bottom bracket, or most likely, just hang in place. Either way, get off the trail and find a clean place to work in case any small parts get dropped during the repair.
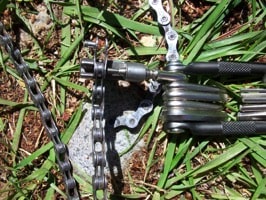
The first step is to remove the broken link. This is where the chain tool is needed. The tool will have a recess shaped for laying the chain link in, holding the chain firmly while the screw plunger presses the pin out. This step can be performed with the chain still on the bike, or it can be pulled off and laid flat.
Remove the broken link such that you are left with the ‘inner’ link of the chain on both ends.
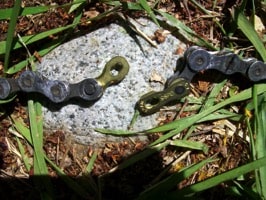
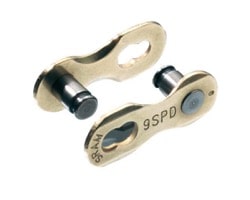
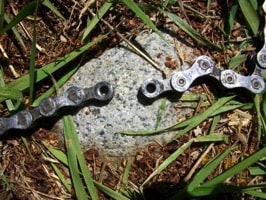
The chain is now ready for the Powerlink. Insert each half into one end of the chain, from opposite sides, so that the pins and plates will interlock.
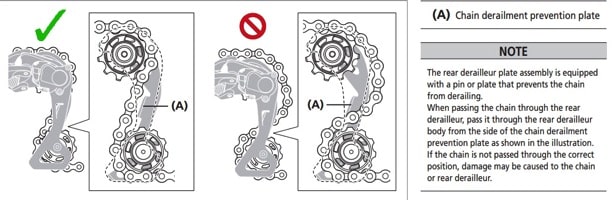
If you removed the chain entirely, you’ll want to route it through the derailleur (see image below) and around the cassette and chainring before joining the power link.

All that’s left is to snap the power link together. Look closely at the two link plates and you will see a slightly oversized opening on each one. Push the pins through those slots and then yank the chain. Done!
With your chain repaired and back in place, pick up the loose links you removed, make sure to grab your multi-tool, and resume your ride!